Showing posts with label urban outfitters. Show all posts

Thursday, May 31, 2012

{FAQ for DIY Urban Outfitters Art}

I have been happily overwhelmed by the response I have received from my DIY Urban Outfitters wall art. The amount of comments, pins, and features has been so exciting and humbling.

  
So first of all, thank you!

I have received quite a few questions about the products and techniques I used for the project, so I thought it would be easiest to include all of my answers in one post. If you don't see an answer to your question here, please leave one in the comments and I'll add it and my answer to this post. :)

Here we go...


Where did you find the copper tape, and what size did you use? 

I bought the tape at Hobby Lobby and used the 3/16 inch width. The size really is just a matter of preference, and they had quite a few different widths available.

Did you stick the tape on the photos after they were on the canvas?

Yes - I waited for the mod podge to dry completely and then stuck away!

I'm really curious to where you got the nature photos. Did you take them yourself or are they from calendar? 

I found all of the photos via Google searches. I had an idea of what images I wanted, so I did searches for words like "clouds", "birds in the sky", and "field of grass".

So mod podge just on the back of the photos? No mod podge on the front of the photos?

Mod Podge on the canvas, apply photo, then mod podge over the top of the photo to seal.

Were these pictures printed on photo paper? Did you have any issues with ink smearing? Any issues with brushstrokes from mod podge showing?  

I used a medium weight copy paper that had a matte finish. The paper was thinner than cardstock but a bit heavier than normal copy paper. I knew that light weight copy paper might tear, bubble or smudge easily from past experience, so I found this paper worked well. I would also recommend cardstock or even photo paper. I used a small foam brush, and made sure to brush in all directions to keep the brush strokes at a minimum. 

Did you use glossy or matte modge podge? 

I used matte mod podge, but that is really just a matter of personal preference.


Would it be okay to use photos printed on regular photo paper?  

I haven't used mod podge over glossy photo paper, but I have used it on just about any type of material and it works great. I don't think you would have any problem, but you might want to do a test photo first and see how it works. The key to a good result is to get a really good coat of mod podge under the photo to begin with as well. 


How did you blow the pictures up big enough to cut into multiple pieces without turning them blurry?

It was a bit of trial and error, and I had to discard a few of the photos I found because they weren't high enough quality. I increased their size in Adobe Photoshop for printing.


I hope this answers all of your questions! And...if you have made your own version of this I would love to see it, so link up your post about it or a picture!
 
post signature


Monday, May 07, 2012

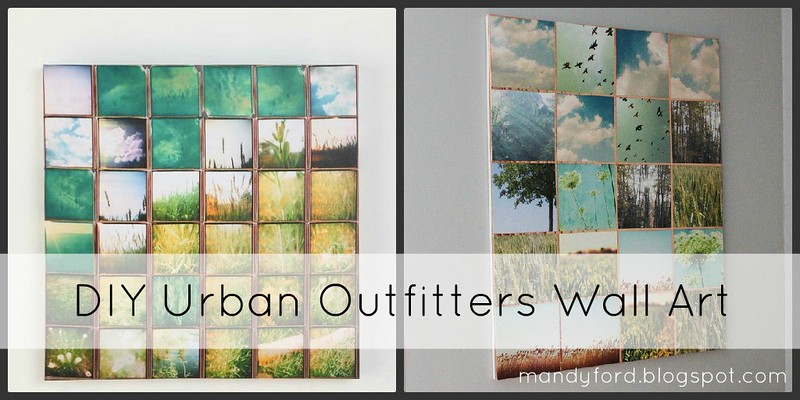
{DIY Urban Outfitters Wall Art}

I'm so excited to share this DIY art project with you today!

For awhile now I've been drooling over some wall art from Urban Outfitters, but they don't have it available anymore, and it was way out of my budget. Soo...I decided to make my own!


Here are the easy steps and inexpensive items I used to create my knock-off Urban Outfitters art.

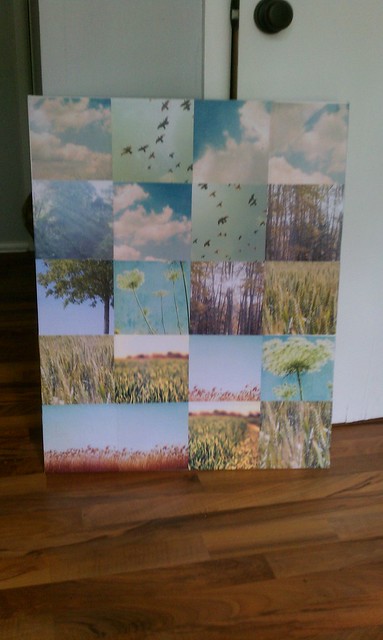
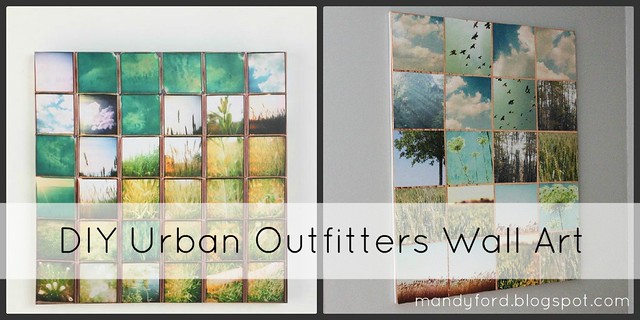
I started with a 24 x 30 inch canvas that was a freebie from my Mom {thanks Mom!} and 20 nature photos that I cut down into 6x6 square. I played around with the layout until I found one I liked...


Then I mod podged them onto the canvas...{took this photo at midnight so my apologies for the poor lighting.}


 And ended up with this...


And for the final step I took a roll of this stuff..


Stained glass foiling tape.

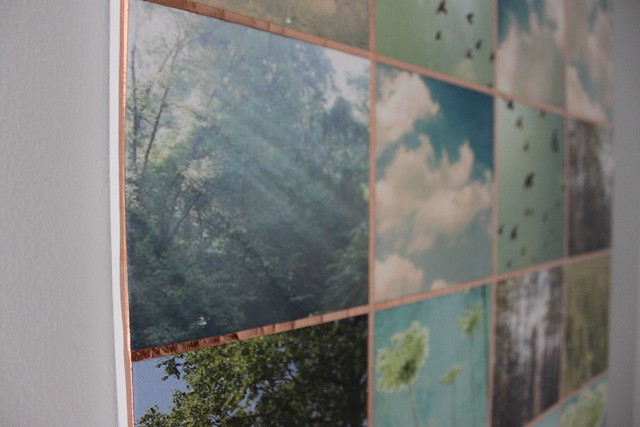
It is basically copper tape and such an easy product to work with. Just peel the backing off and stick! And it can be molded around the edges of the canvas for a really great finished look. I outlined all of the edges of the photos with it and put it around the canvas edges. Here is the finished product...


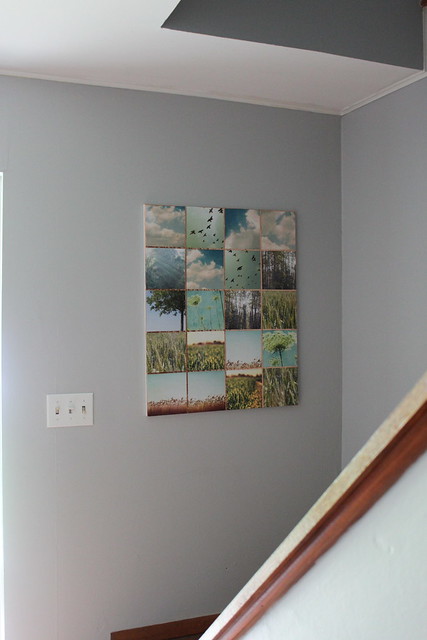
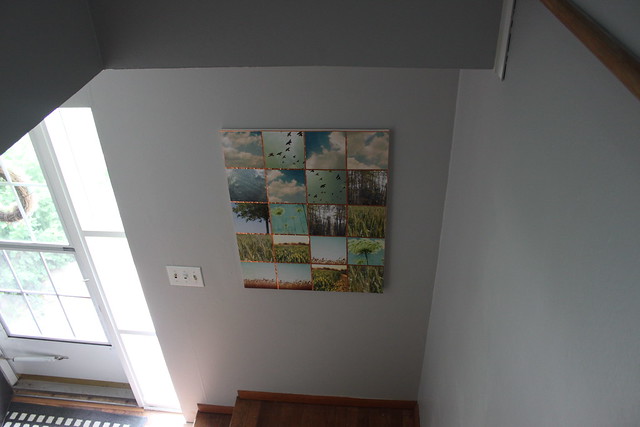
I turned out exactly how I had imagined and is the perfect art piece for our entryway...


And I love that I spent about $5 total for supplies. Here are a few close-up shots...


It is the perfect finishing touch to the new look in our entryway. I love how the colors tie into the vignette on our entryway table...


And it is a happy greeting as we walk down the stairs...


So what do you think? Have you completed any DIY art projects recently? I'd love to see them!

Questions about the products and techniques I used for this project? Check out the FAQ!*

*A kind blog reader pointed out to me that I should give credit for the photos I used, and she is very correct, especially with all of the views this project has received. However, when I did my google searches for photos, it didn't occur to me to save the original sources {lesson learned!}. It was never my intention to copy someone else's work, so if you recognize one of the photos I used as your own, please let me know and I will of course list your credit in this post.

Linking up with...


Funky Junk Interiors

I'm Topsy Turvy

Making


Keeping It Simple

BWS tips button
post signature


Wednesday, July 27, 2011

{yes, please}

 I have a feeling this new chair from Urban Outfitters will sell out quickly...


I'll take one in gray please. And also one in yellow {they are calling it khaki?}. I can't decide.

post signature

LinkWithin

Related Posts Plugin for WordPress, Blogger...