Showing posts with label painting. Show all posts

Wednesday, June 20, 2018

New Local Class


Hey there friends!

Who wants to come paint with me? On July 14th I'll be teaching a super fun mixed media art class at the Richmond Art Museum!


We'll create with paint and all sorts of other fun mixed media supplies to create one of a kind art pieces. 

Check out the class here

If you are local or nearby to Richmond, Indiana I'd love for you to join me!

XO,

signature

Sunday, May 28, 2017

Painting Day


Hello friends and happy weekend!

I wanted to share some peeks at a new painting I started today...


I've been itching to paint for weeks now and this was so relaxing and fun. Today was one of those "do anything we want to" days and it was MUCH needed after celebrating my boys' 9th birthday yesterday with about 10 kiddos in our house. Whew! 


This is going to be similar to my other cloud painting but with a moodier background which I'm loving. I can't wait to add a few more layers to this tomorrow! .  

I recorded the process so far and shared it over on my YouTube channel if you want to watch here!

XO,
signature

Sunday, March 19, 2017

Fun with Paint Pens


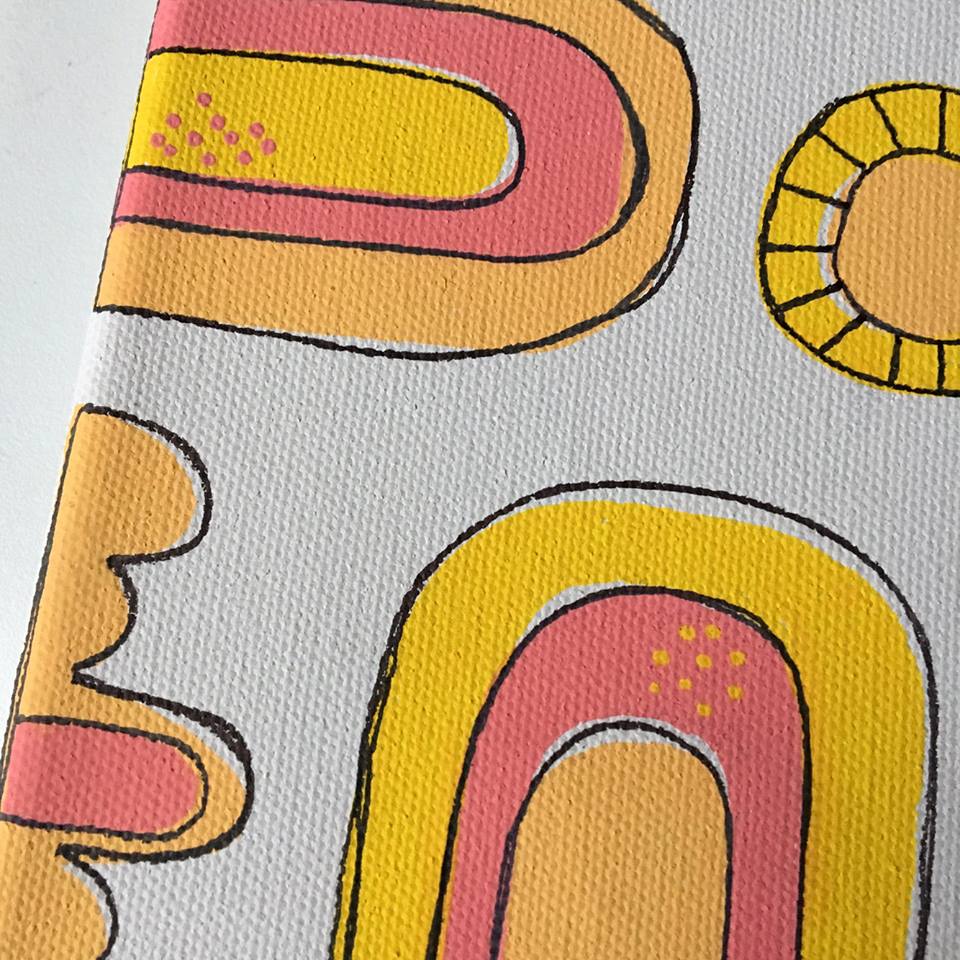
I got some new paint pens over the weekend and couldn't resist trying them out right away on this little canvas...


They are Uni Posca paint pens and I am in LOVE with them! 

The colors are lovely and the paint comes out smoothly and is nice and opaque.


I also used my favorite Paper Mate Flair pen to add some outlines and make the shapes pop...


As soon as I find the time I'll be making a few more of these little paintings!

Do you have a favorite new art or crafting supply?

XO,

signature

Sunday, January 08, 2017

Happy Little Clouds


Is there an identity you kind of want to try out, but you think you'll pretty much suck at it?


Let me tell you a story.


(But spoiler alert...you are NOT alone.)

I painted the background on this canvas about a month ago and absolutely hated it. 


I wish I had taken a before photo, but you'll just have to imagine the diagonal stripes of turquoise, gray and gold. It was a bit of a mess.

So it sat against the wall in our bedroom since then. 


Every few days I would think about it and how I could fix it. I even brought it out of our bedroom a few times, only to return it hours later. I hadn't got up the courage to revisit it. I honestly thought all I would do is make it worse. 


A few days ago I started reading a new book, Your Inner Critic is a Big Jerk (which is just as awesome as the title), and it encouraged me to pull out my paints and get to work. 


I wouldn't call myself a painter by any means - I don't know technique or what tools to use etc, BUT after these happy little Bob Ross clouds started to come together this morning, transforming that background I once hated into something that's making me smile, I realized that maybe I should rethink how I define myself. 


I actually have some encouraging and wonderful memories of being a painter. In elementary school, my art teacher Mr. Robinson taught me how to paint a landscape. I have vivid memories of him standing over my shoulder, giving me tips on how to make mountain peaks and waves of water. It was all very Bob Ross, kind of like my clouds. 


So I thought of him as I painted yesterday. And thanked him with each brush stroke and squirt of paint. 


Yes, I literally squirted the paint directly onto the canvas. See what I mean about technique? But hey, it worked.  

I'm sharing this to encourage you to think about how you define yourself. 


What identity would you like to have, but are maybe too scared to give a chance? Or what is that thing you used to do as a child...an identity that you used to wear proudly, but for some reason you discarded and haven't tried back on? 

You get to define who you are! And if you're struggling with that, definitely check out this book.


It is a super cheerleader!


XO,

signature

Monday, April 07, 2014

{hello monday}


Well, hello there Monday.

Today was the boys' first day back to school after spring break and I was surprised at how easy it was to get them going. Surprised and super thankful...we are NOT morning people at our house. 

I'd like to think their "new" room had something to do with it...


My parents and mother-in-law came over yesterday and helped us paint their room, and I'm so in love with the color. It is a light turquoise and really brightens up the space. 
HUGE difference from the dark brown it was before. 

The boys had fun helping...
And Landon decided it was his job to speed up the drying process with his little Lightening McQueen fan...
He was cracking us up with that thing. He took it so seriously...complaining about how hard of a job it was and that his arm was getting sore. Such a goober. :) 

When we were almost done he said, "This is like a WHOLE NEW ROOM!" Bless his heart...I love making my boys happy. :)

I've also been working on some DIY projects for their walls. The first is a faux pallet sign that I put together using some spare pieces of wood we had from taking some closet shelves apart. I painted it white, distressed the edges a bit with sandpaper, and doodled a fun quote on it using paint and markers...
I also made a set of 4x4 canvases using instagram photos, paint, and mod podge...
I hung them up last night and they look so cute on the walls. The boys love having photos of themselves in there.

And speaking of their photos, here is one last sneak peek of their room makeover...
I've had this canvas hanging in the family room but thought it was too perfect for their room to not hang it in there. The boys helped me paint the ampersand red, and I'm going to hang a fun Etsy purchase with these once it arrives. I have a few other touches to add as well...so excited to see it all come together.

I'll be sharing a full room reveal post soon!

XO,
post signature

Tuesday, July 17, 2012

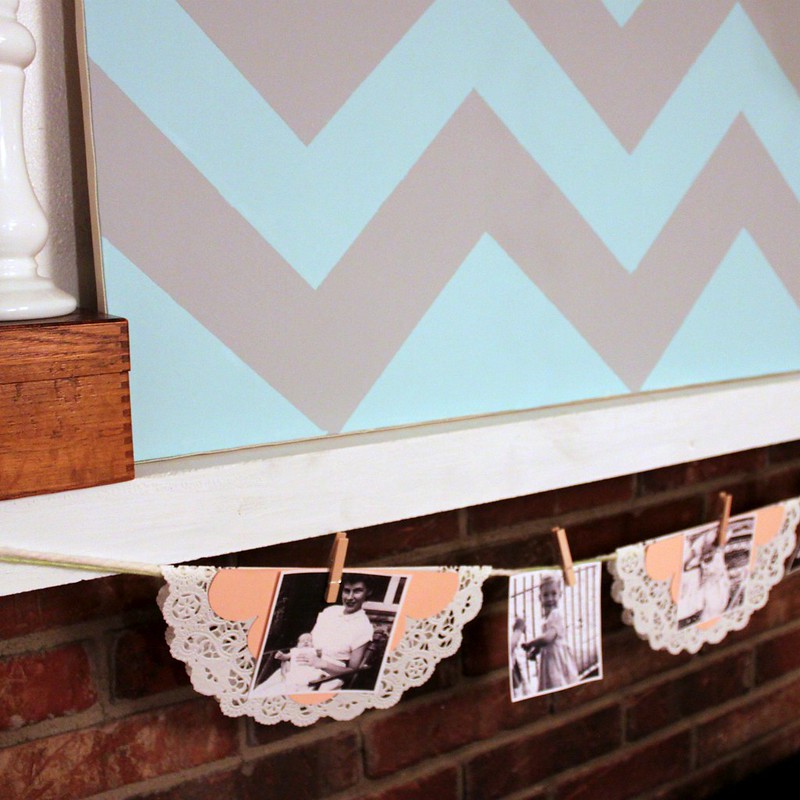
{"I did what with paper towels?" chevron art}


So I FINALLY jumped on the chevron bandwagon...I know...I'm a bit slow on the trends.

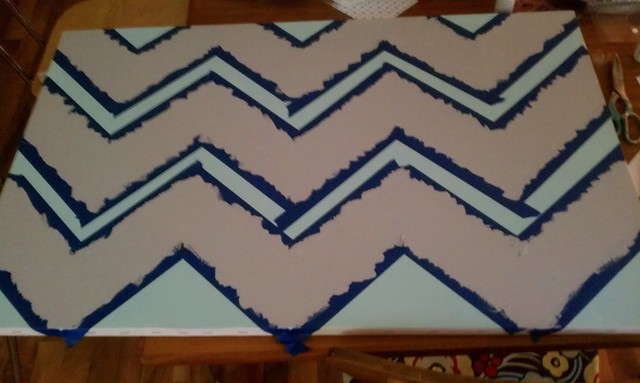
My mom gifted me with a large canvas awhile back so I decided it was finally time to try my hand at painting some chevron stripes. I started out by painting the entire canvas light blue, and then went to work with my ruler and painter's tape...


And let me tell you...measuring and taping off those chevron stripes was NO picnic for me. I would have probably done a better job if I just eye-balled it. Because my first attempt was a total FAIL. I mean, it looked good when I was  painting the stripes...


But not so much when I removed the tape...


It looks more like a crazy version of Charlie Brown's shirt, right? And the olive green I picked out looked nothing like an olive when it dried.

So I painted over those crazy skinny chevrons and started over.

This time I used what any sensible person would for my template...


That's right, friends. Those are paper towels.

{They're not just for cleaning up salsa}

I don't know whether I'm genius or just weird. But it worked.


They were the perfect size for the stripe width I wanted.

I also switched out the olive green paint, that wasn't quite olive, for a calming gray.


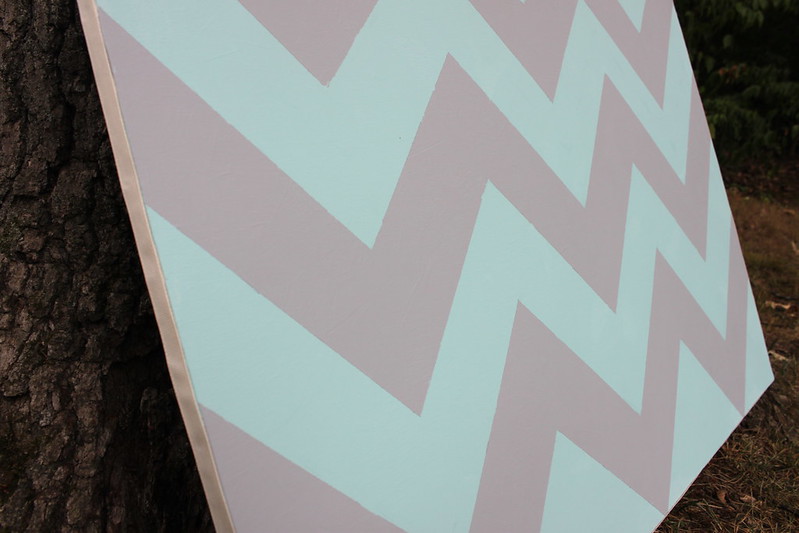
When the paint was dry I added some ribbon around the edges with my hot glue gun to hide the staples and give it a finished look...


And this time it turned out MUCH better.


And just in case you are wondering, it is not decor for our back yard, we just have horrible lighting in our dining room where it is currently living, so I took it outside for a little photo-shoot. :)

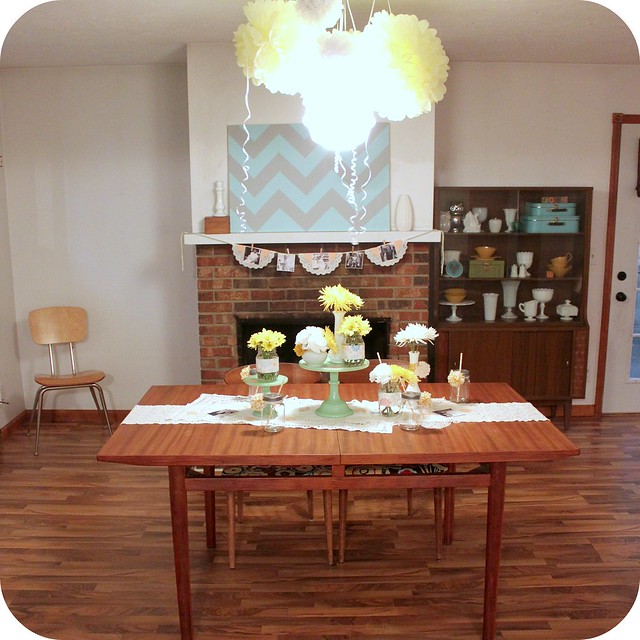
It did already make a blog appearance at my Mom's surprise party though...


So have you used a household item like paper towels to help you with an art project? For me, they were much better than doing math. ;)

Linking up with...


post signature

Wednesday, April 11, 2012

{finished painting project}

I'm a bit late with this post...as I promised it right after the entryway reveal. Forgive me? :)

So I'm not sure what to call this space in our house because it is part stairwell, part hallway, part family room. When we bought the house, it looked like this...
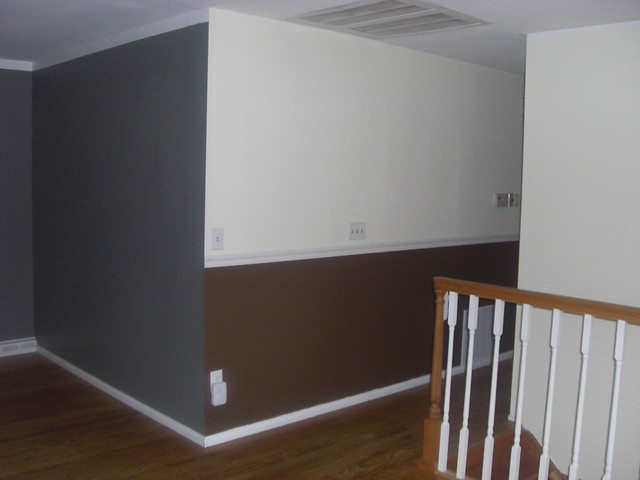

And this...
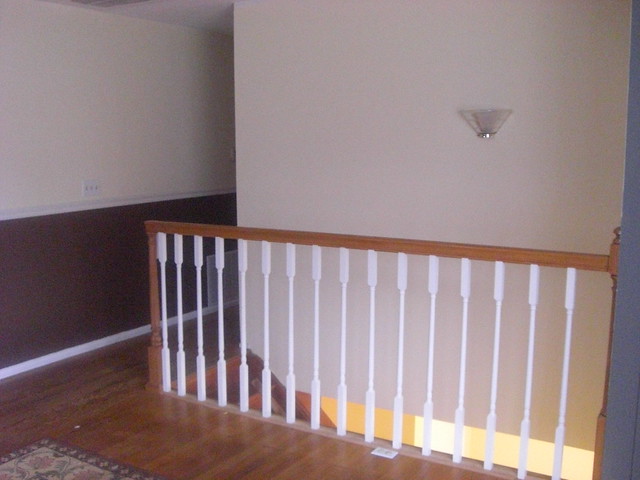

Crazy color scheme? Check.
Rickety railing? Check.
Oddly placed 80's light fixture? Check.

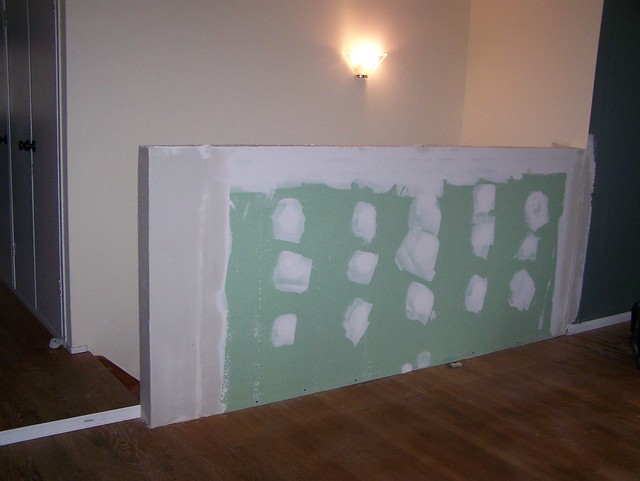
Before we even moved in, we had that scary railing replaced with a half wall. Here it was in progress...


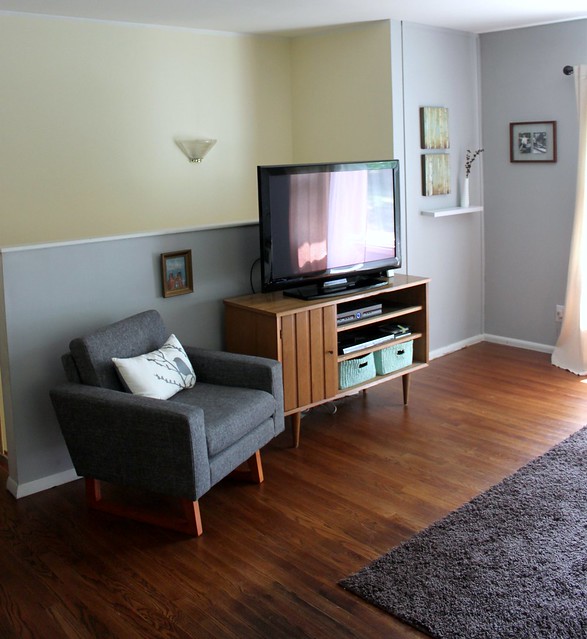
And here is that same space after we my lovely mother-in-law painted the room a lighter shade of gray and we moved our family room into the space...


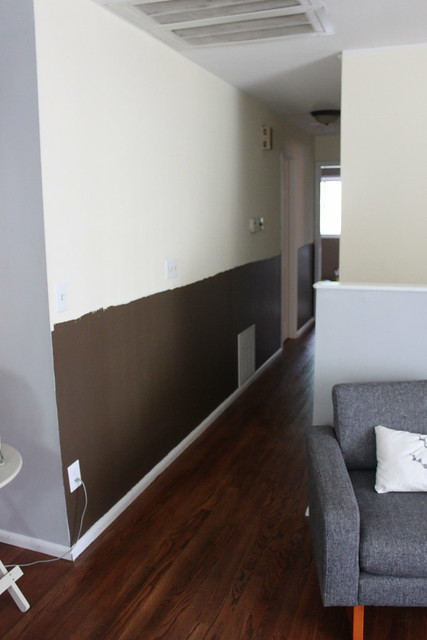
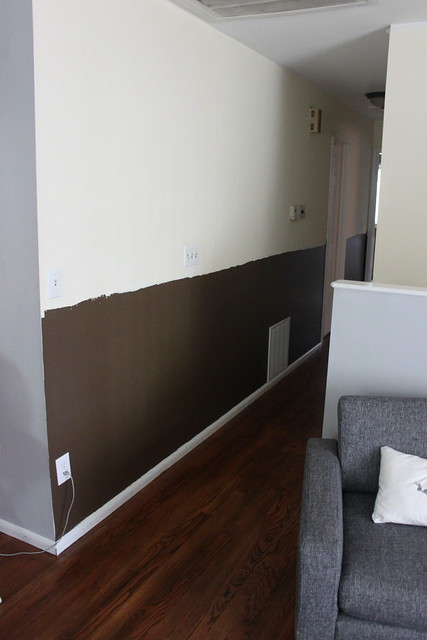
Here is the hallway before...


And after...


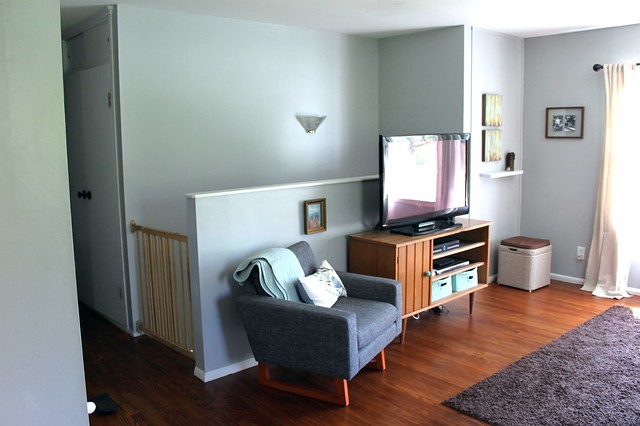
And I am happy to report that we finally have a matching stairwell! First time we've ever hired a painter and it was well worth it. (and the $50 (!!) he charged us)..no way was I going to get on a ladder on stairs. Here is how it looks now...


It feels so good to finally have this space one cohesive and calming color. Now we just need to replace that unfortunate light fixture and the transformation will be complete!


post signature

Tuesday, March 20, 2012

{2012 home goals update}

I am SO happy to say that I can finally mark something off of my 2012 Home Goals list!

Drum roll please....

Woot!

I actually marked off 1 1/2 if I'm going to be picky...and that half is a big deal in my book.

Thanks {HUGE thanks} to my parents for coming over this past Saturday and doing about 90% of the painting...the hallway is now finished! Just to jog your memory it looked like this when we bought the house {we had already removed the chair rail when I took this pic}...


And here it is now!


A fresh, clean slate just waiting for some artwork. I'm picturing a gallery wall of some sort.

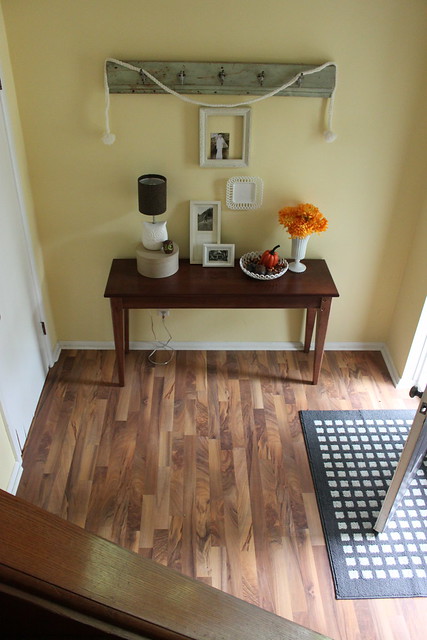
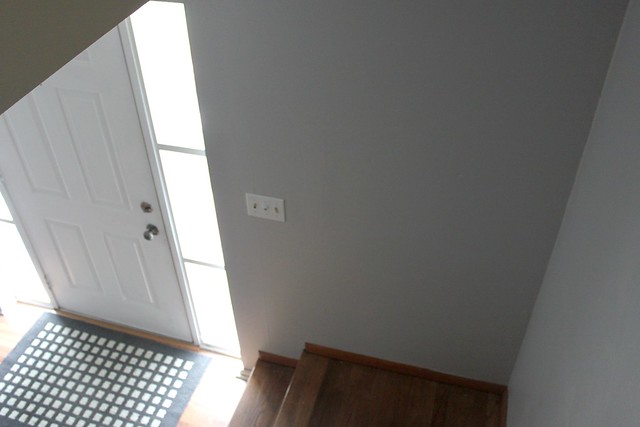
And the entryway is no longer the light yellow that I despised....


It wasn't a horrible color...just not our style at all.

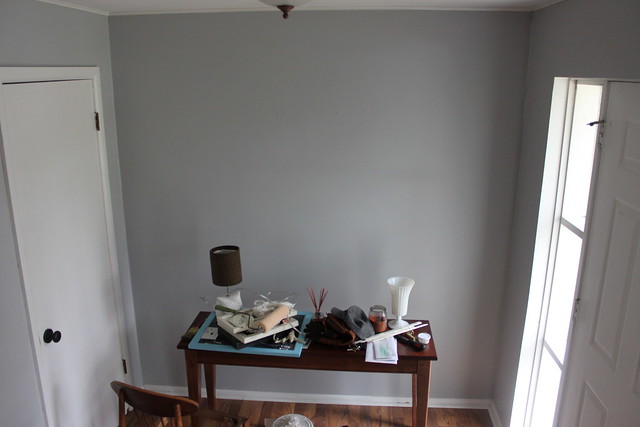
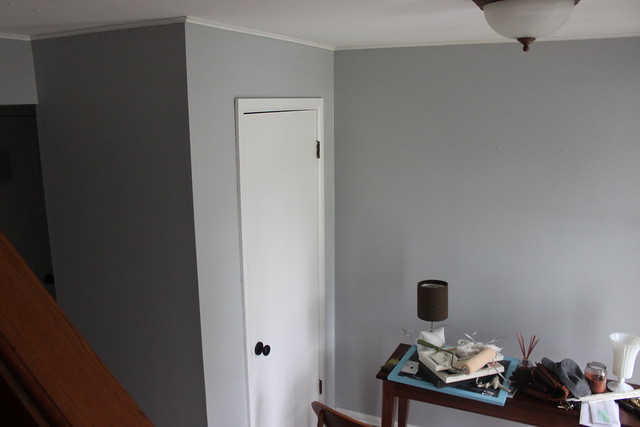
Now it is a cool gray...like a breath of fresh air {no decorating has been done yet of course}...


I absolutely love how clean the color looks next to the white trim, and how much more modern the space looks already...


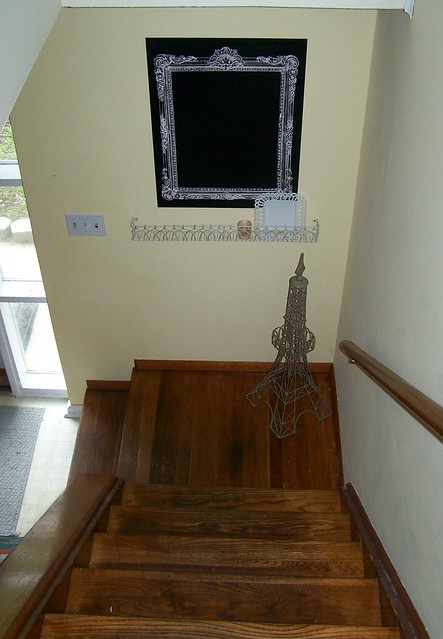
Here is the view from the top of the stairs before {when I was still in my shabby chic cottage phase}...


And after...


I have to admit I'm a bit intimidated by the decorating challenge that now awaits me. I have been pinning lots and lots of inspiration pics so now I just have to pick an idea and stick with it. I know that it will definitely include some DIY projects and thrifted items. At the top of my list is a big lamp for the console table. While I love my little owl lamp it certainly isn't big enough for the space. Here are a few images that have really caught my eye...

These two for the light fixtures and colored doors...

Source: flickr.com via Mandy on Pinterest


Love this lamp and the entire table vignette...


And even though we aren't big travelers, I really love this big map. The colors are so gorgeous...


It feels great to be able to mark something off of that to do list! Not sure what will be next...but our kitchen/dining room really needs some attention.

Stay tuned!


post signature

LinkWithin

Related Posts Plugin for WordPress, Blogger...