Showing posts with label chalkboard. Show all posts

Thursday, March 02, 2017

do something good


The world needs your goodness!

XO,
signature

Sunday, December 08, 2013

{Christmas Entryway}


Our entryway finally got a touch of Christmas cheer today...


It is one of my favorite spaces to decorate. Here are a few photos!


The vintage Santa and reindeer was my Dad's as a child...it is one of my favorite pieces. And my Mom gave me the metal tree for my birthday. It is so fun to change out the little picture frames for the seasons/holidays. And of course you know I love some good chalk art!

So that's it! What do you think? Do you decorate your entryway for the holidays?

XO,
post signature

Monday, September 23, 2013

{DIY with Plaid FolkArt Multi Surface}


It has been too long since I shared a crafty/DIY project so I'm super excited for this one today!
I teamed up with the folks over at Plaid to make a few fun projects using their new FolkArt Multi Surface paints and Handmade Charlotte stencils. I'm so excited about these paints because you can use them on practically any surface...metal, wood, glass, fabric...AND they are dishwasher safe and machine washable! 

Plaid also provided me with their awesome new "Chalk Anything" paint which is clear and can be applied over any of their paint colors to create a chalkboard. So fun! You can purchase all of these new products at Michaels stores. 

I created two project with their paints...the first is a chalkboard for my boys' bedroom door. I started with a wood slice {from Michaels}, and a bold shade of green Multi Surface paint, applying one nice thick coat...
Then I applied two coats of the "Chalk Anything"using the instructions on the bottle...
It dries clear so the paint color stayed the same. After letting it cure for 24 hours, I was able to write on it!
I think it looks so cute on the boys' bedroom door. I can predict it saying "no girls allowed" in the future. :)
I'm very impressed with this chalkboard medium...the surface is easy to write on and to erase. 

My second project included a kraft paper journal, two more colors of Multi-Surface paint, and the Handmade Charlotte Stencils which are SO adorable. 
It was hard to choose which stencils to go with, and even I'm amazed that I didn't end up using the squirrel {no worries...it will be used at some point, probably on a mug} I ended up going with a tree and leaf pattern.
I used the same bold green from the chaklboard for the tree, and mixed red and yellow paints to get a fun orange for the leaf.
And because I can't resist a little doodling, I used a brown marker to outline them and add some detail...
I just love how this journal turned out. I might have to do a few more for the shop!
I am super impressed with these products and will definitely be using them for some more craft projects around the house and for gifts. Did I mention the squirrel mug?! That is definitely going to happen.

You can find out more about these great Plaid products at the links below...
Blog: http://paintmeplaid.com/

And now for the really fun part...a giveaway! Plaid is offering one lucky winner a Folk Multisurface prize pack AND a $100 Michaels gift card! 

Enter via the Rafflecopter widget below and good luck!

a Rafflecopter giveaway

Plaid provided me with the products and compensation for this post, but all opinions and general DIY craftiness is 100% my own! 


post signature

Saturday, March 23, 2013

{today}


Oh, how I needed today.

Waking up late, without the sound of an alarm, to stare at this cute neck while we watched Casper...


After the movie, Landon asked me if he could have a vitamin, AND THEN brush his teeth.

Um...YES son, that would be just fine! Seriously? That doesn't happen every day folks. 

The boys' Gigi took them out on the town while Dan and I enjoyed some time to get things done around the house and enjoy a lunch out together...a rare treat for all of us! 

And spontaneous shopping trip with her to TJ Maxx where we both found rings that just HAD to come home with us...


I got home just in time to snuggle with my Benny after the boys' nap...


And this is my new chalkboard message in the entryway...


Amen.

It was a good day. 

post signature

Sunday, February 17, 2013

{make your own chalkboard labels}


When my hubby surprised me with the craft table of my dreams for Christmas, I had a vision right away of how I wanted to label it's six awesome drawers.

Two words.

Chalkboard labels.

I looked online and on Etsy in particular, and found quite a few for a decent price, but of course my craft-obsessed mind kept saying..."You can make these, Mandy."

So, I headed to Hobby Lobby and picked up a roll of repositionable chalkboard vinyl for about $5 after using my 40% off coupon. {I never buy anything full price at the HL.} And I made a template from clip art I found on PicMonkey...


Traced it onto my vinyl six times...


Cut them out...

And voila!

Pin It

I'm so happy with how they turned out!


And now I don't have to search through each drawer before I find what I'm looking for...


And of course if I change the contents all I have to do is wipe the label clean and start over!

This, of course, is my favorite drawer...


It won't be long before I'll need two washi tape drawers! #iamabitobsessed

So for $5, I created these awesome labels, and I still have a bunch of the vinyl left over for other projects.

I have a feeling lots of other things in the house will be getting labeled soon!

Linking up with...

Tutorials & Tips @ Home Stories A to Z

post signature

Saturday, June 25, 2011

{DIY chalkboard}

I have a super easy chalkboard DIY project to share with you today.

When I originally created it, I was inspired by a few images I discovered on Pinterest...


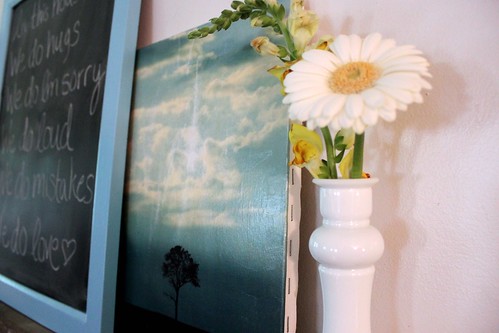
I wanted to create a chalkboard for our mantel, and include a similar "family rules" sentiment. So by using a frame I already owned, a can of chalkboard spray paint, and some craft paint and mod podgee, I came up with this...


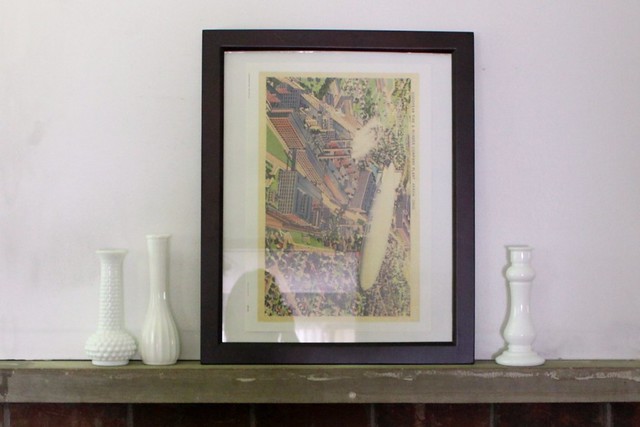
Wanna see where this chalkboard started out? The frame had been in storage since we moved to this house two years ago, so it felt like a freebie.


Not much to look at, right?

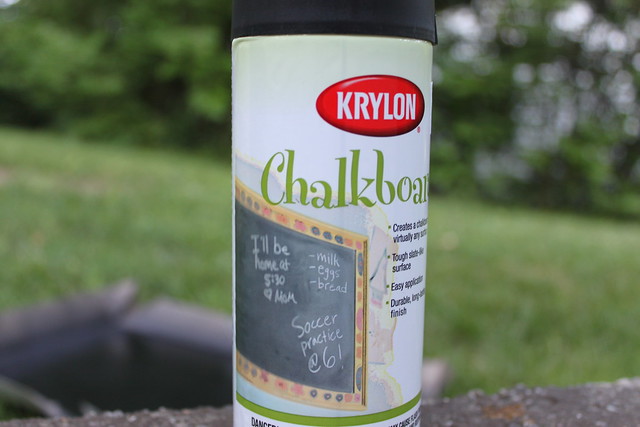
To transform the frame to a chalkboard, I picked up a can of chalkboard spray paint from Hobby Lobby {$6 after my 40% off coupon}...


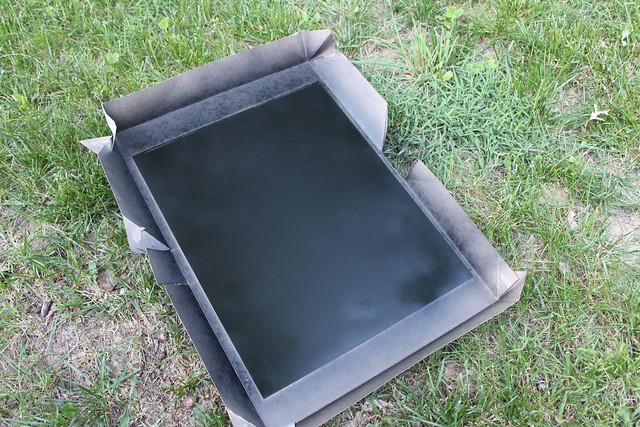
And gave the glass two good, even coats...


And gave it 24 hours to dry per the instructions on the can. 

Then I gave the frame three coats of blue craft paint from my stash, followed by a coat of mod podge to seal it...and voila!


Since I created the chalkboard, our fireplace has undergone a small makeover with a nice white painted mantel, and the chalkboard has been so much fun to personalize for the seasons...


Its currently living on our entryway table and is a great place for encouraging greetings to both start and end the day...


I hope this has inspired you to create your own chalkboard!
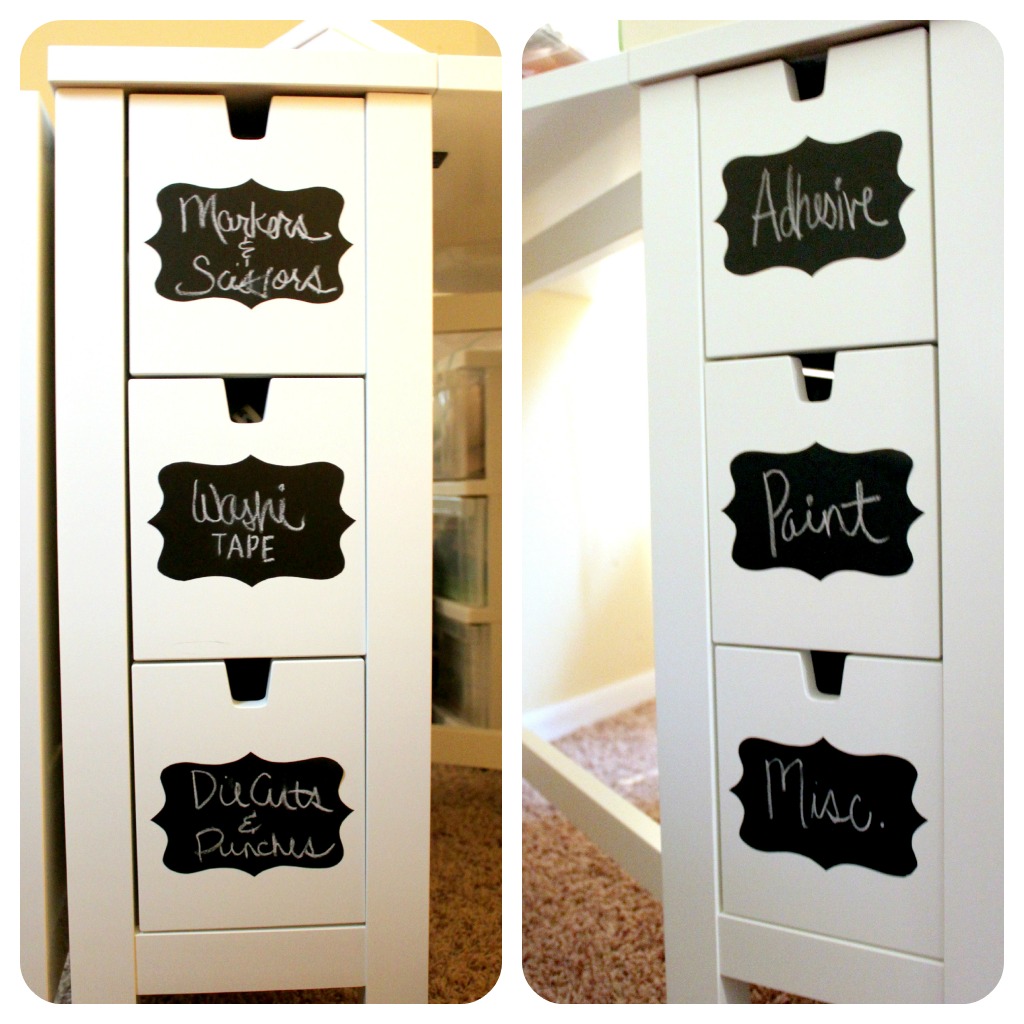
post signature


LinkWithin

Related Posts Plugin for WordPress, Blogger...