Saturday, April 07, 2012

{diy hello sign}

Before I show you photos of our entryway that I decorated today {sooo excited to show you!!!}, I wanted to share a quick and easy little DIY project that is part of the space.

I wanted something fun and quirky to welcome us and our family and friends when we come in the front door. I had contemplated buying something like this...

Source: etsy.com via Mandy on Pinterest


But I'm so glad I didn't because my crafty lightbulb came on today and I came up with another completely free project that I'm super excited about. I started with this great milkglass plate that I've had for quite a few years...


Then I grabbed some of my favorite scrapbooking stickers {American Crafts Thickers}...


And spelled out "hello" on the center of the plate...


And done! Doesn't get much easier than that, right?

Then I hung it next to our coat closet so it is the first thing you see when you walk through the door...


I'm so giddy about how it turned out...it is just perfect. Such an easy DIY project that anyone could do...just grab a plate or tray and some letter stickers! It would be fun to put one on the back of the front door that says "good-bye" or "see ya later", right?

Next up will be photos of the finished entryway!

post signature

{instagram}

Happy day before Easter friends!

Just popping in to say that I'm on Instagram now...and officially addicted. :)

My name is mandy_ford or you can find me on Webstagram here.

A few of my pics so far...

Hello there...


Starbucks date...


New superhero shoes...


Start of a collection...


I have an update of our newly painted stairwell and decorated entryway coming soon! Hope everyone has a wonderful Easter!

post signature

Tuesday, April 03, 2012

{DIY mail center}

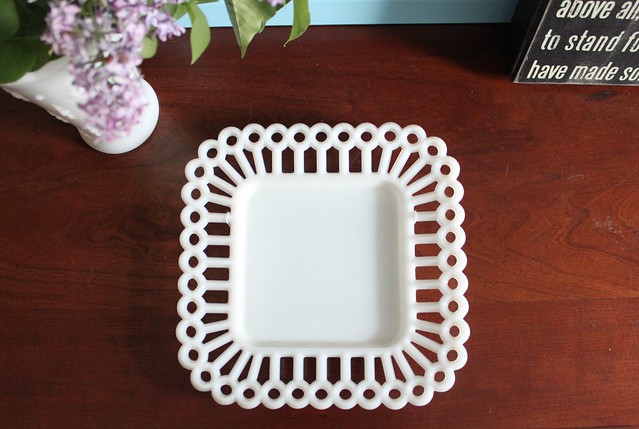
Yesterday was my first day off after a super long and busy work week. And one of the first things I did was pull out my mod podge and finish a project that I had on my to do list for a few months now.

Like most people, we struggle with keeping our mail organized. I knew that we needed a mail station in our entryway that made it easy to sort everything right after we come in the door. After looking all over the internet for premade mail stations, and not seeing anything that I either 1. loved and/or #2. could afford, I decided to DIY it.

And the best part of this project? It was 100% free! {I used all items that we already owned or were free.}

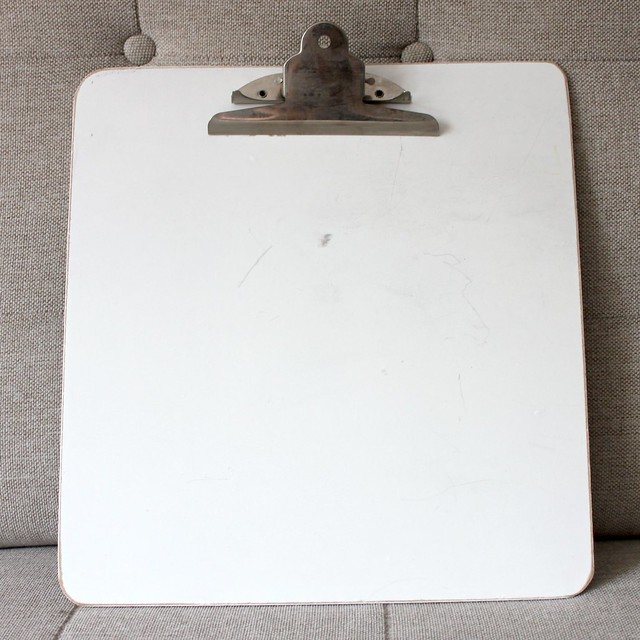
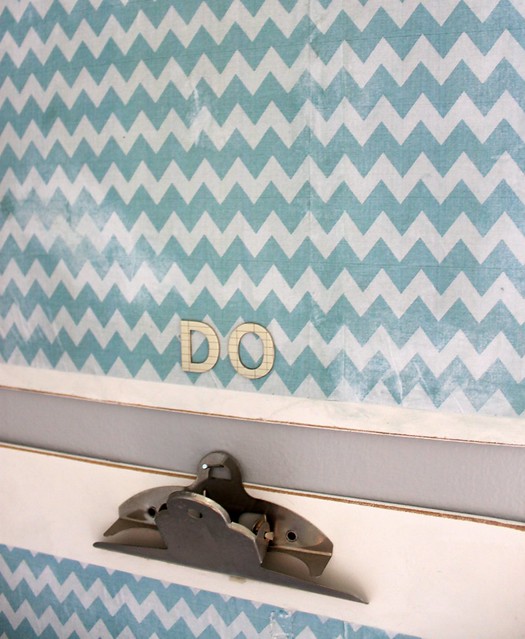
I started with two large clipboards that I've had for years...


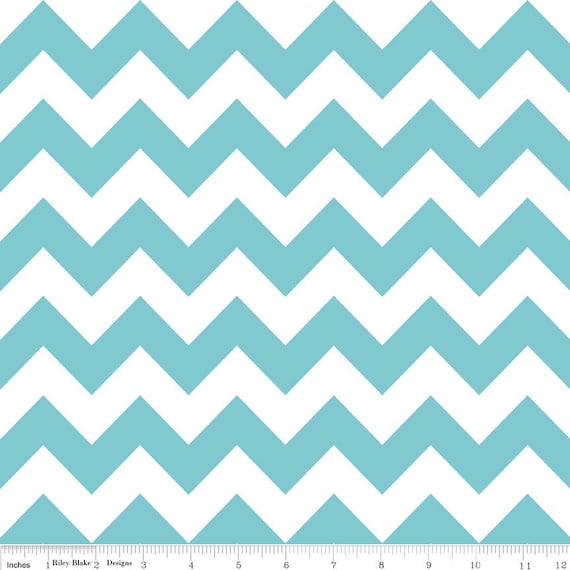
And printed a free chevron scrapbook paper that I found online...


I couldn't print a piece large enough to fit the clipboard so I printed two pages and cut two pieces to fit, making sure I lined up the chevron pattern.

Then I used my handy dandy mod podge to attach the paper. I had a few air bubbles and wrinkles which was annoying, but using mod podge with thin paper will do that every time. {note to self...print on cardstock next time!}

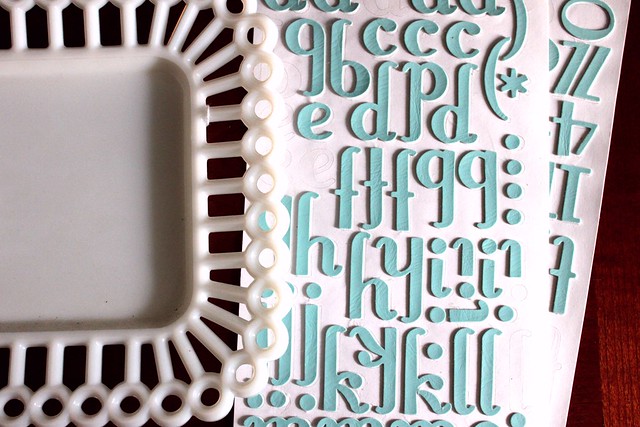
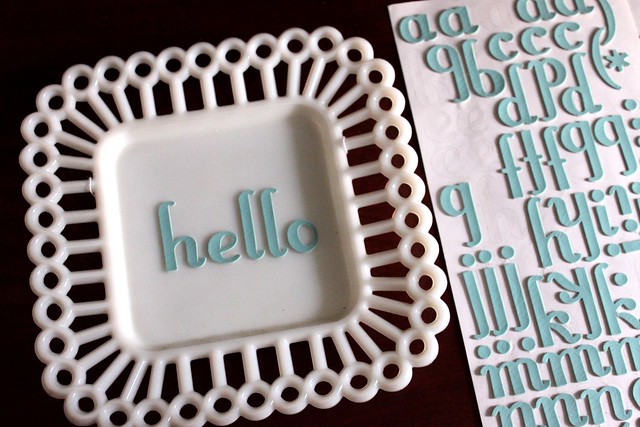
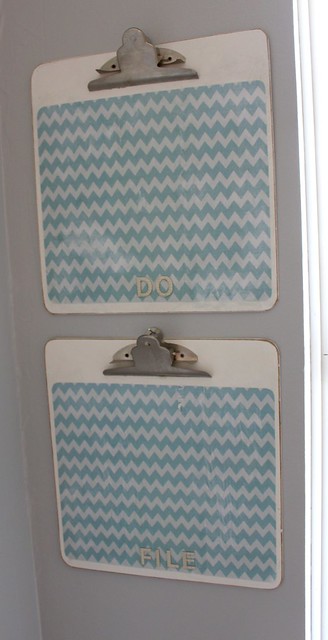
I also used some chipboard letters to label each clipboard. "Do" for bills and other mail that requires action...


and "file", which is pretty self explanatory. :)

If you look a bit closer, the "file" one has a little imperfection near the top. I went to smooth out a wrinkle and the paper ripped...


Bummer is right. 

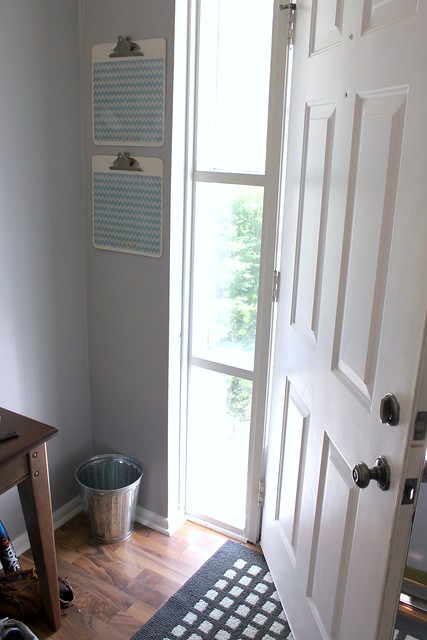
Oh well...gives it character. And it will almost certainly be covered by mail about 99% of the time anyway. And here they are all finished and hanging next to our front door...


Underneath the clipboards, I placed a cute metal trashcan for all of the junk mail that we receive. That way it can go right into the circular file, instead of cluttering up our entryway table, kitchen island, and counter. I love how the blue chevron looks against the new gray walls...


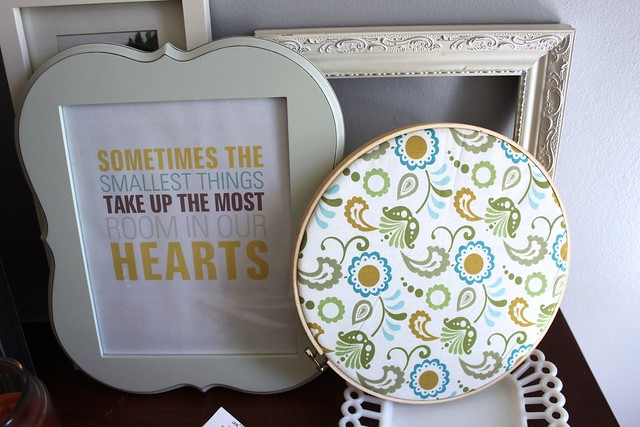
And just for fun...here is a sneak peak at what I have in store for the wall above our entryway table...


I'm going with a cream, turquoise and mustard yellow color scheme, and I found the PERFECT lamp for the space that I can't wait to share. I haven't hung anything on the wall yet, but I'm hoping to work on it tomorrow, so check back soon for an update!

Linking up with...

Visit thecsiproject.com


post signature

Saturday, March 31, 2012

{refinished craigslist chairs}

Remember our Craigslist dining room set?


It looks pretty good in that photo, but the chairs were in need of some major TLC. I already covered the seats with a fun Amy Butler fabric which helped to perk them up. My husband has been working on refinishing them and I'm happy to have a finished one to share with you...the difference is pretty amazing!

Just as a reminder, here is one of the chairs right after we bought them with the worn and dirty seat cover...


And here is one after I recovered the seat...


If you looked closely the wooden frames were really dirty and worn, especially on the top...


Are you ready for this after? I'm amazed at how beautiful the wood is!


And here is a little side-by-side comparison {the different in the finish on the legs is pretty amazing too}...


He has finished two of them and I can't wait to see the entire set looking shiny and new. Not bad for a $75 set of chairs, huh? I'm really proud of my husband because this is his first furniture refinishing job. Gotta love a man who can handle some stain and poly! :)

Hope everyone is having a great weekend. I have some entryway decorating planned for tomorrow that involves a new lamp! Have you done any decorating projects recently? Link them up!

Linking up with Thrifty Decor Chick's Before and After Party!

post signature

Thursday, March 29, 2012

{new pillows}

We splurged a bit over the weekend and got two new pillows from Target for the sofa...


The hubby actually picked out the style, and we chose the color together. He has great taste, huh? :)

Now I'm looking around for some fun fabric to make two more accent pillows. I want to pull in the blues and greens we already have in the artwork and accessories in the room, and also stick with the mid-century vibe we have going on ...


Here are some that I've added to my favorites on Etsy...


And of course I can't leave out the universally loved chevron...


What do you think? Which fabric(s) would you pick? Have any to add that you think I would love?

post signature

Wednesday, March 28, 2012

{playing dress up}

No outfits from me today friends...it has been a crazy work week with lots of events. And to be honest, I'm a little bored of looking at picture after picture of myself. So it feels kind of good to take a break today, and share some inspiration outfits from Pinterest that all include one of my favorite colors right now...coral!

I love absolutely EVERYTHING about this outfit. The top looks super flattering, the chevron bracelet is gorgeous and I love the color palette...


This outfit pairs coral with my favorite neutral, gray...


This combo if coral and mint is so fresh and pretty...


And I would love to wear this outfit for a relaxing day of shopping, magazine reading, coffee drinking and knitting...


What color combos are you loving right now?

post signature

Tuesday, March 27, 2012

{puzzle maniac}

To say that Ben loves puzzles is a bit of an understatement...


He usually puts one together every day...


And one usually leads to two or three or four spread out all over the dining room floor...


I love watching his little mind at work, and am amazed at how quickly he can find the pieces that fit. Love my little puzzle maniac. :)


post signature

LinkWithin

Related Posts Plugin for WordPress, Blogger...